
This post covers the installation and configuration of Flutter on Linux Fedora 31/32 in order to develop desktop, web and Android applications. iOS support and other aspects of app development such as prototyping are omitted for now.
The installation and configuration steps are deliberately given in the same order as during installation process on my computer.
First, what is Flutter and why should it be considered?
What is Flutter?
Flutter SDK is Google’s UI toolkit for crafting beautiful, natively compiled applications for mobile, web, and desktop from a single codebase. Flutter.dev
Flutter is an open-source UI software development kit created by Google. It is used to develop applications for Android, iOS, Linux, Mac, Windows, Google Fuchsia, and the web from a single codebase. The first version of Flutter was known as codename “Sky” and ran on the Android operating system. Wikipedia
Why I chose Flutter
Two years ago I started developing web-based applications, primarily for telemetry applications and local SMBs.
I didn’t face any major issues with backend development (mainly python-based) including but not limited to: database (SQL Alchemy and mongoDB), multi-threading and multiprocessing daemons, fault-tolerant protocol implementation, REST …
The main issue I encountered in my journey to become a full-stack developer was the frontend side of the game
I realized that the task of creating high-quality cross platform (web, android, iOS and PC) was tedious and difficult and required a large set of knowledge and skill sets that were far beyond what was possible to achieve as a solo-developer.
In my journey I tested and used several solutions, most of which were for python developers wishing to do some GUI development. Some of the solutions which I used include:
- PyQt – a Python binding of the cross-platform GUI toolkit Qt
- Plotly Dash – python framework for building web analytic applications built on top of Flask, Plotly.js, and React.js
- Anvil – a free Python-based drag-and-drop web app builder
- Jupyter notebooks – an open-source web application that allows you to create and share documents that contain live code, equations, visualizations and narrative text.
However, none of the options fully met my goals or solved the problems I faced. A solution based on a single language and a set of tools had to be found in order to cover all the tasks related to frontend design and interaction with the backend.
That is why I decided to give Flutter a try and I was amazed by the quality of the tools and the fluidity of the workflow.
Prerequisites
snap
In order to install snap use the command line:
sudo dnf install snapd
Then snap classic support should be enabled:
sudo ln -s /var/lib/snapd/snap /snap
Snap Store application can also be installed from the command line:
sudo snap install snap-store
tools
As stated by Flutter documentation, the following tools should be installed:
- bash
- curl
- file
- git 2.x
- mkdir
- rm
- unzip
- which
- xz-utils
- zip
Also the libGLU.so.1 library should be installed. The package providing this can be found using the command line:
dnf provides libGLU.so.1
To install:
sudo dnf install mesa-libGLU
When using the locate libGLU.so command I realized that the libGLU.so.1 file had been installed by snap. If asked I’ll check which of the installed libraries is being used by FLutter
Flutter installation
In order to install Flutter use this in the command line:
sudo snap install flutter --classic
Executing the following command will initialize the Flutter framework (download, install and initialize Dart and Flutter):
flutter sdk-path
The command itself is used to display SDK’s path
As this post was being written, Flutter web apps support was in beta stage. To use it the latest Flutter version from the beta channel should be installed:
flutter channel beta
flutter upgrade
flutter config --enable-web
Configuration
The first thing to do is to add the path to the SDK to your PATH environment variable. This can be achieved by adding the following lines at the bottom of the ~/.bashrc file:
# Flutter and Dart paths
export PATH="$PATH:PATH_TO_FLUTTER_SDK/bin"
Remember to reload the terminal for the changes to take effect.
~/.bashrc can be patched and the terminal’s environment reloaded as follows:
cat << EOF >> ~/.bashrc
# Flutter and Dart paths
export PATH="\$PATH:`flutter sdk-path`/bin"
EOF
. ~/.bashrc
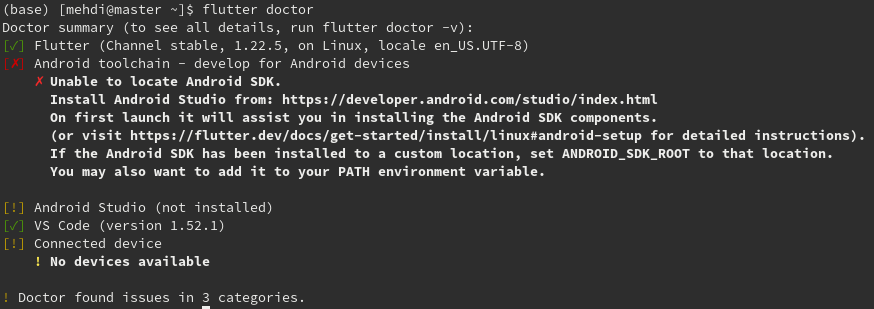
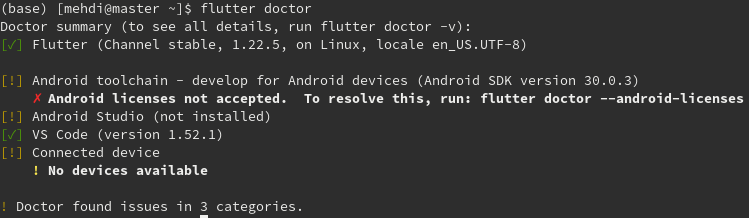
The next big step of the configuration process is to run the flutter doctor command from the command line to verify dependencies.
Below is an example of the command output:
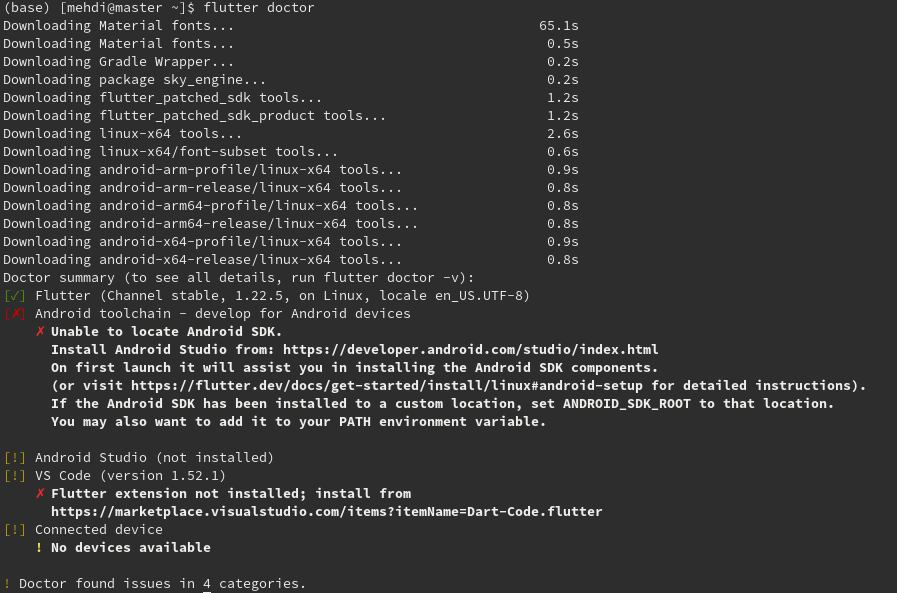
Several issues are to be noted:
- The Android SDK is not installed
- Android studio is not installed
- Visual studio code is detected but the Flutter extension is not installed
- No device is connected
Device configuration and connection will be addressed in a separate post
Additional tools installation
Visual studio code
To install VS code on a Fedora machine:
sudo snap install --classic code
Then the Flutter plugin should be installed:
- Open VS code
- Search for Flutter In the Extensions section
- Click install
As shown in the image below, VS code is reported to be correctly configured:
Android Studio and Android SDK
Android Studio is the official Android app IDE based on IntelliJ IDEA from JetBrains.
you can use snap to install Android Studio:
sudo snap install android-studio --classic
JetBrain’s Toolbox App is another way to install Android Studio
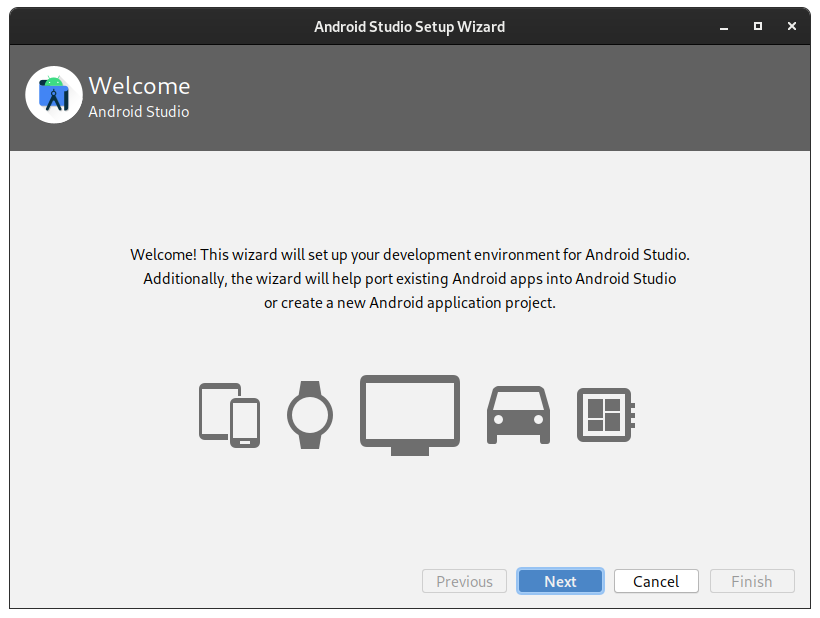
Android Studio configuration
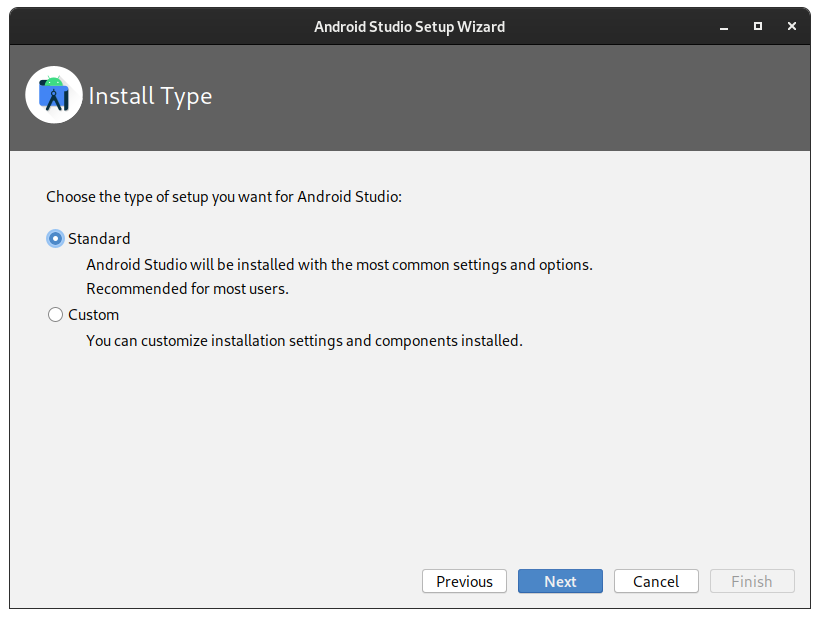
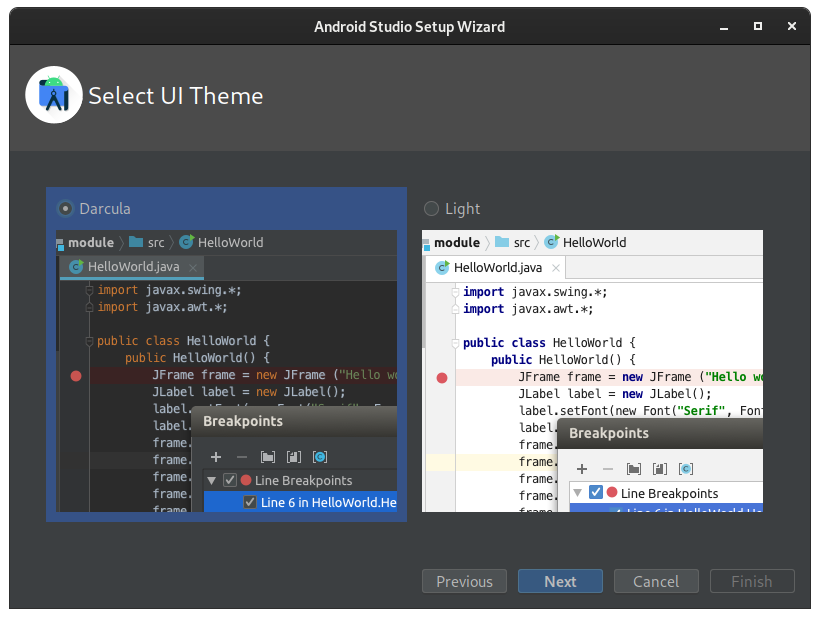
When Android Studio is started for the first time the Android Studio Setup Wizard is automatically launched. Follow the instructions as shown in the following screenshots:
The Standard Install Type is similar to the Custom one:
I prefer the dark theme:
I left these options untouched:
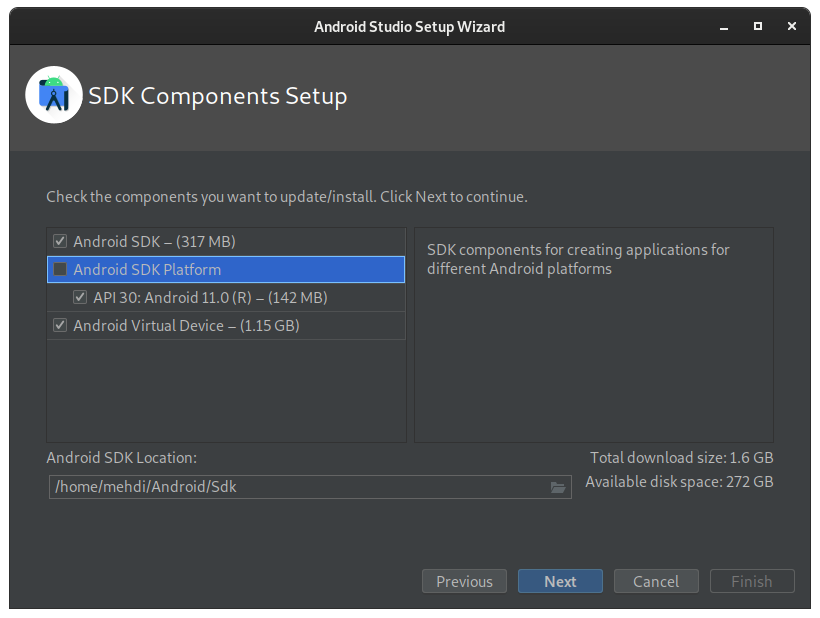
Please take note of the paths used:
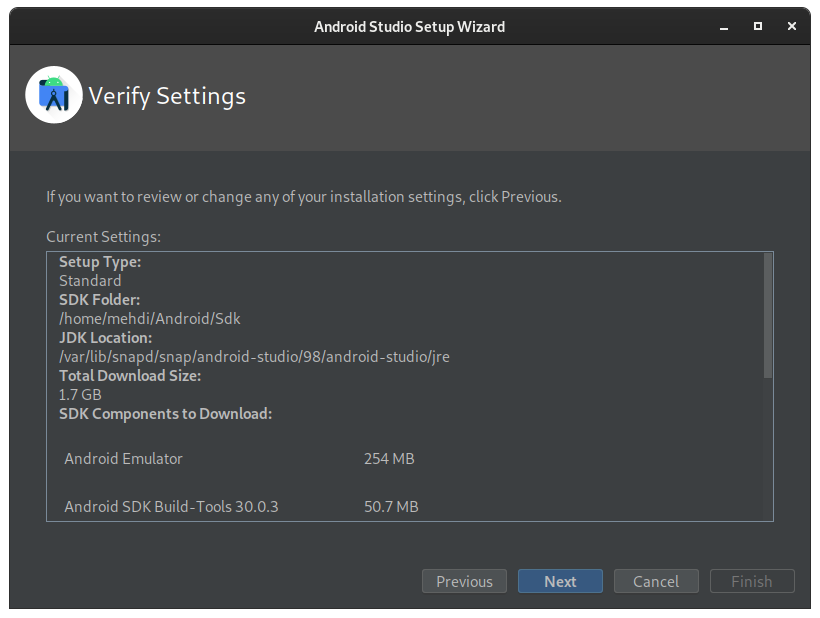
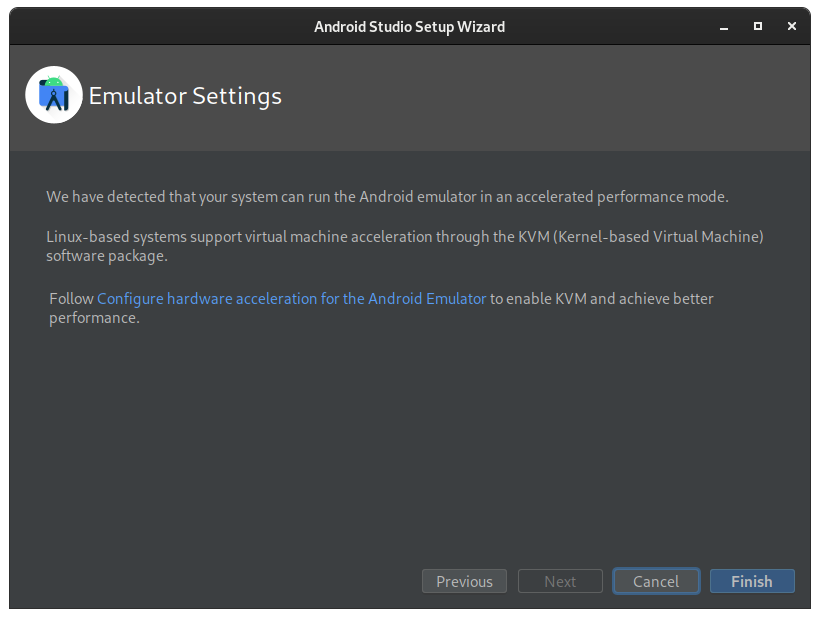
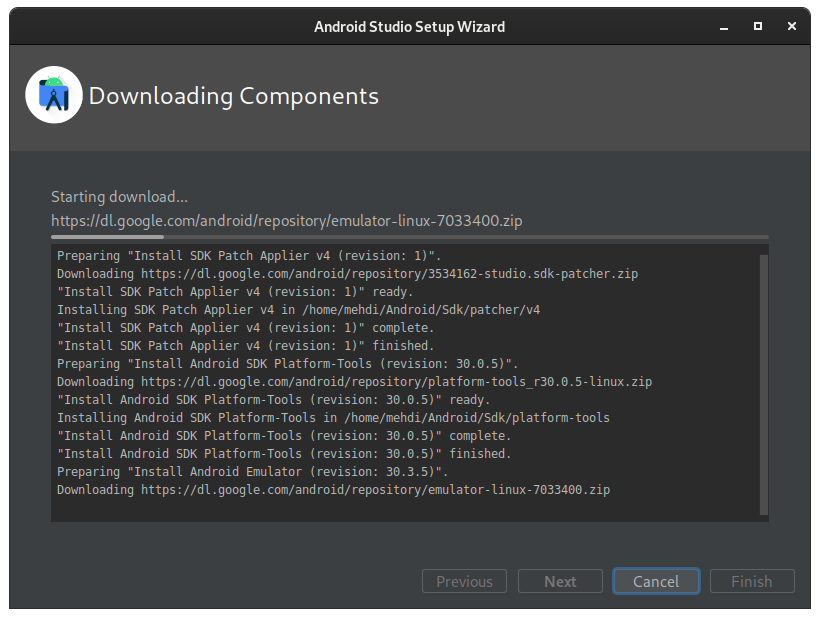
Depending on the Internet connection speed, the installation can take a while:
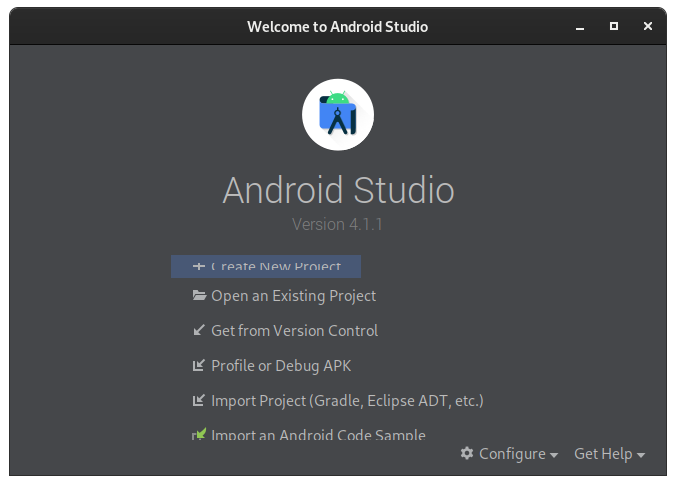
After successful configuration, the Android Studio Welcome window pops up:
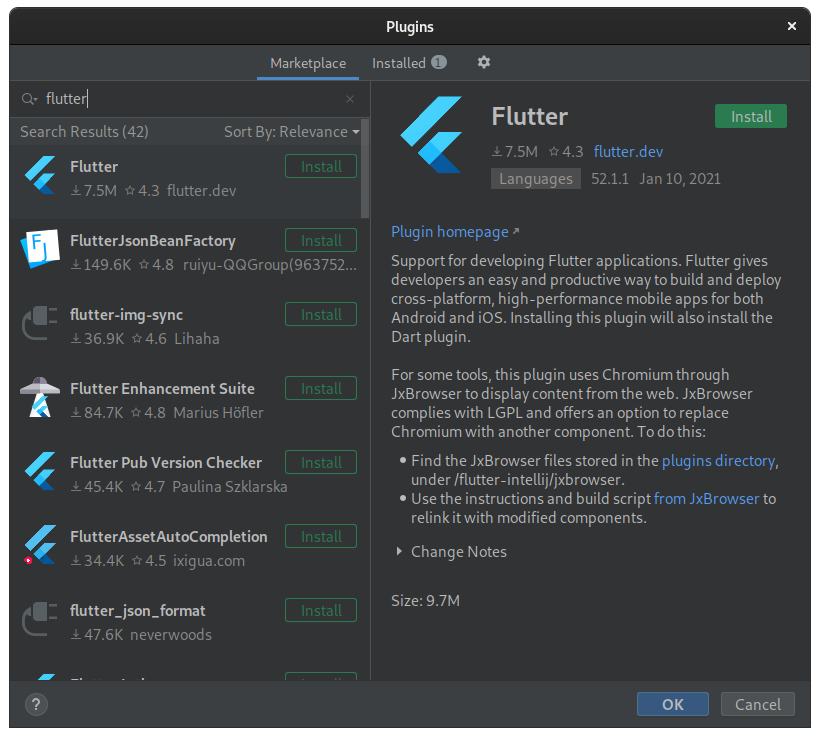
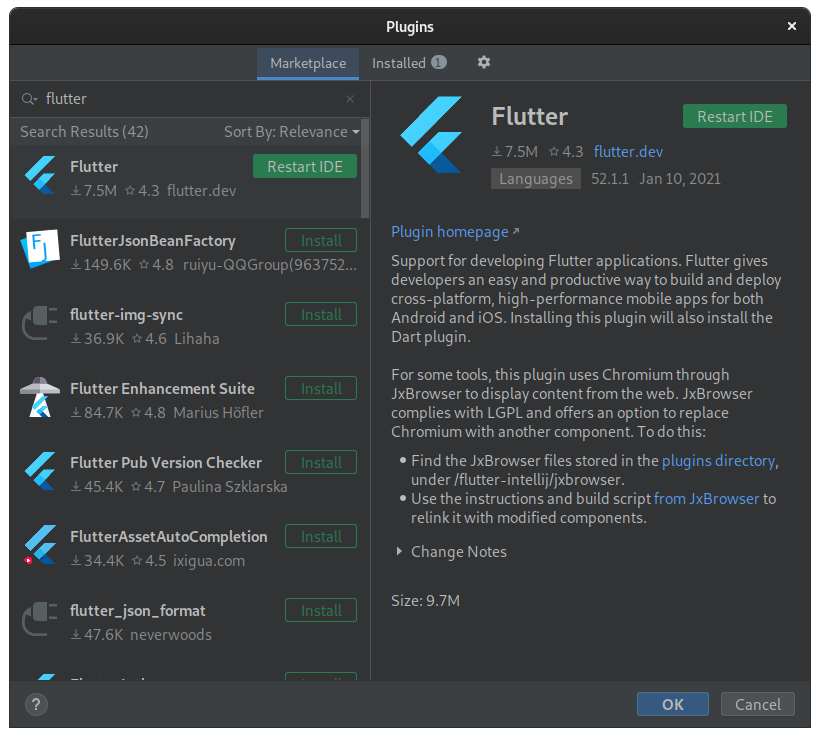
The next step is to install the Flutter plugin for Android Studio. To do this, open the Plugins window by clicking on the Configure button, then click on plugins, then type flutter in the search bar, choose Flutter plugin from flutter.dev and hit Install:
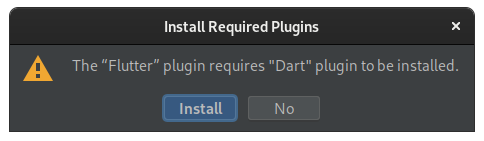
The Flutter plugin requires the Dart plugin to be installed:
After successful installation of Dart and Flutter plugins, restart Android Studio:
Now that Android Studio is installed and configured, let’s check the output of flutter doctor:
So the next step is to accept Android licenses using flutter doctor
flutter doctor --android-licenses
Use the following command to point flutter doctor to the installation path of Android Studio:
flutter config --android-studio-dir=/var/lib/snapd/snap/android-studio/current/android-studio/
Now the flutter doctor output looks as follows:
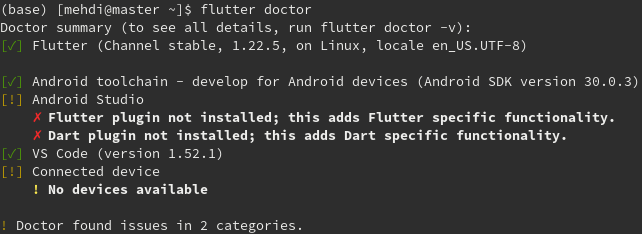
You can be safely ignore the two errors stating that Flutter and Dart plugins are not detected.
What’s next?
The next steps may include configuring and testing the Android Emulator, configuring on-device debugging, developing basic Flutter apps to explore different aspects of the SDK, exploring the features of VS code and Android Studio and exploring debugging tools.
References
Further details could be found in the following web resources:
- How to install Android Studio on Fedora
- Installing snap on Fedora
- Flutter documentation
- Flutter documentation – Set up an editor
- Pointing the Android Studio installation directory in Flutter (GitHub issue)
- Building a web application with Flutter
- Configure VM acceleration on Linux
Leave a comment